REVIEW · MADEIRA
E-Bike Guided Tour – West Side Mountain Biking
Book on GetYourGuide →Operated by E-Bike Madeira Lda. · Bookable on GetYourGuide
Madeira’s west side looks huge from two wheels. This guided E-bike & mountain biking tour mixes scenic climbing with real off-road descending, plus a memorable stop at the Ponta do Pargo lighthouse. I love the flexible route choices in the early section, where you can go for dirt/gravel or aim for more technical singletrails. I also really liked how the coast views keep showing up as you gain altitude. One thing to consider: the ride is mostly off-road and can feel harder in bad weather, so you’ll want the right grip and confidence, not just a good cardio day.
You meet in Funchal, then you’re shuttled up to the starting altitude and sent out with a guide in a small group (up to 7). If you’re a beginner, the e-bike helps a lot, but you still need basic bike control. If you’re injured-prone or have health limitations (like back or heart problems), this isn’t the best fit.
In This Review
- Key takeaways before you pedal
- Riding the west side on e-bikes: why it feels so good
- Getting to the top: meeting in Funchal and the van ride to altitude
- First riding section: gravel, dirt, or straight to singletrack
- Calheta to Ponta do Pargo: the lighthouse stop and why it’s worth the fuss
- The ride math: 30–40 km, 285m up, and a big 1317m descent
- Calheta break time: plan for lunch and what to pack
- What’s included (and what you’ll still need to bring)
- Who this tour suits best (and who should skip it)
- Price and value: is $159 a fair deal for 5 hours?
- Weather reality check: when the route feels harder
- Should you book this e-bike west-side mountain biking tour?
- FAQ
- What time does the tour start?
- How long is the biking time on the route?
- Where does the tour go during the ride?
- What kind of terrain will I ride?
- What’s included in the price?
- What should I bring?
Key takeaways before you pedal
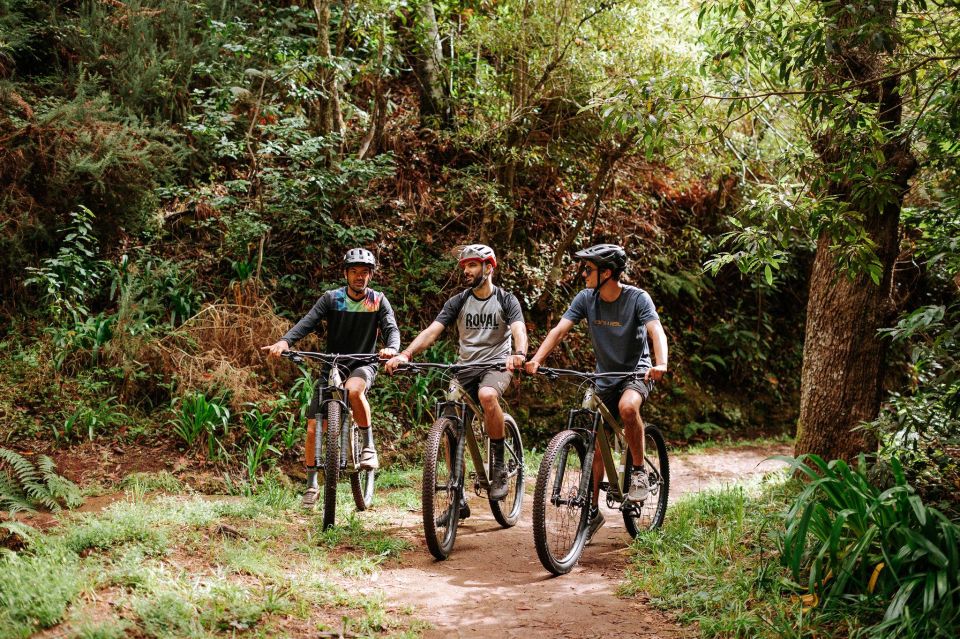
- 80% off-road means you’re earning those ocean views on dirt, gravel, and singletrail segments
- Route choice early on lets you pick dirt/gravel or go directly to singletrails
- Ponta do Pargo lighthouse gives you a true west-tip viewpoint (inaugurated in 1922)
- Big descent with modest climbing: about 285m up and 1317m down over 30–40km
- Small group, multi-language guides: Portuguese, English, Spanish, German
- Bring gloves (you’ll be glad if the trail gets slick or you have a minor wobble)
Riding the west side on e-bikes: why it feels so good
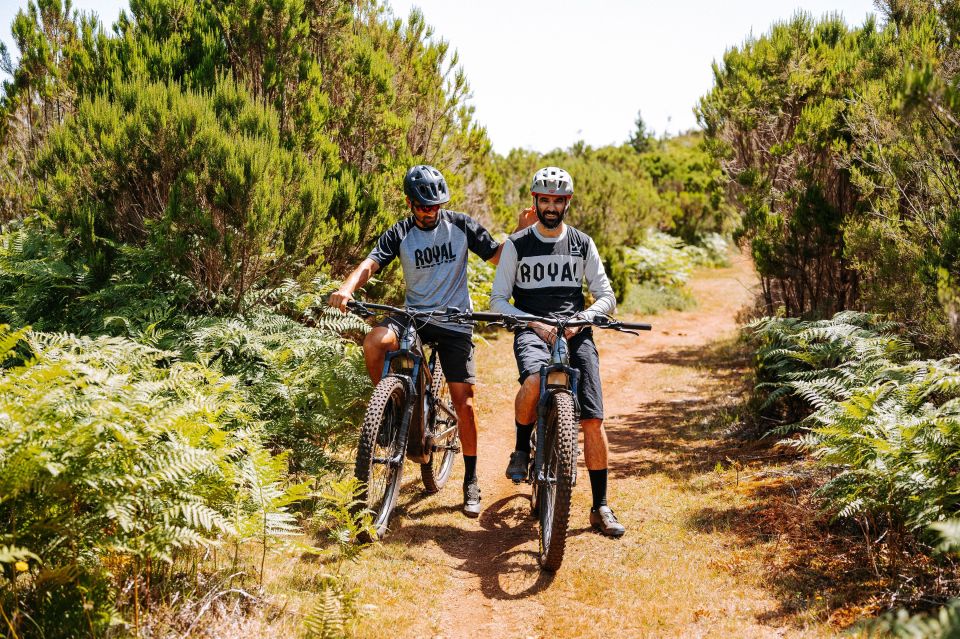
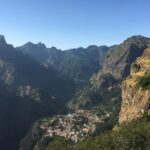
This tour works because it matches Madeira’s terrain instead of trying to tame it. You’re not doing a flat leisure spin. You’re moving through real mountain ridges, with the North Atlantic showing up in wide, dramatic angles as you go. And because it’s an e-bike guided tour, you’re not forced to burn out just to stay with the group.
Two parts in particular make it click for me. First, the early section gives you a choice: dirt and gravel roads or singletrails. That means you can dial the technical level to your comfort instead of hoping you guessed right. Second, the downhill energy is what makes Madeira biking special, and this route leans into that. Even if the climbing numbers don’t look monstrous, the descent is substantial.
A small heads-up: this is still mountain biking. One review note in the wild is that rain can shift what feels like an easy level into something more like a tougher day. Translation for you: if the weather looks questionable, plan for slower speeds, more caution, and extra attention to traction.
You can also read our reviews of more cycling tours in Madeira
Getting to the top: meeting in Funchal and the van ride to altitude
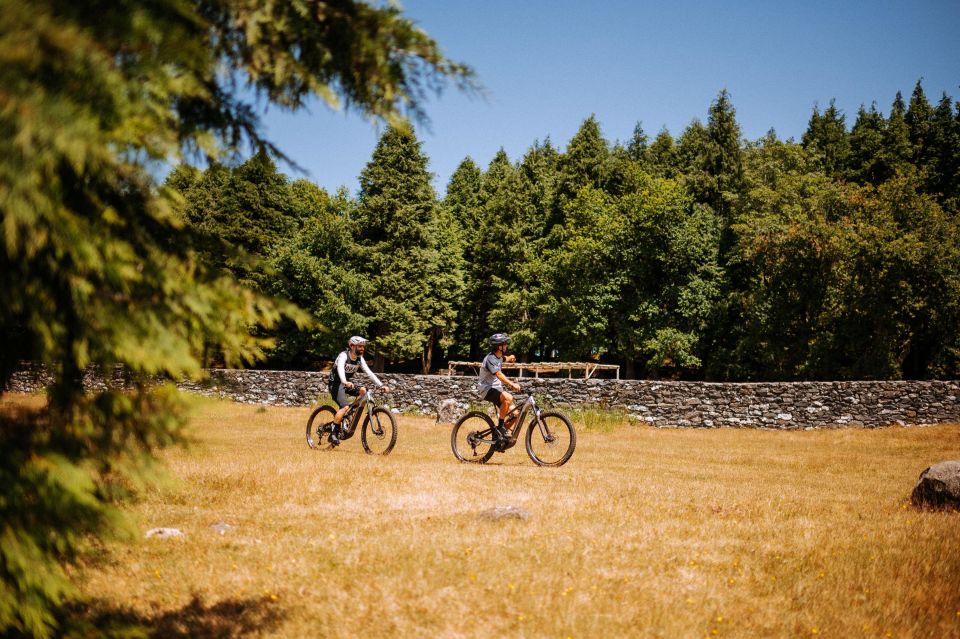
The day starts at the shop in Funchal, meeting at 9:00 AM at Estrada Monumental 182 loja 2. From there, you take a van ride (about 40 minutes) up toward the starting area around Fonte do Bispo, at roughly 1241m altitude.
Why that van segment matters: it compresses your day. Instead of spending hours grinding uphill just to reach trails, you get to start near the good stuff and use your energy where it counts—on the ride itself. If you’ve ever biked Madeira without a shuttle, you know how quickly time and daylight vanish on the roads.
One practical consideration: if you request pick-up, there may be an extra charge. If you’re coming from a hotel outside the immediate Funchal area, it’s worth asking ahead so you’re not guessing on timing.
First riding section: gravel, dirt, or straight to singletrack
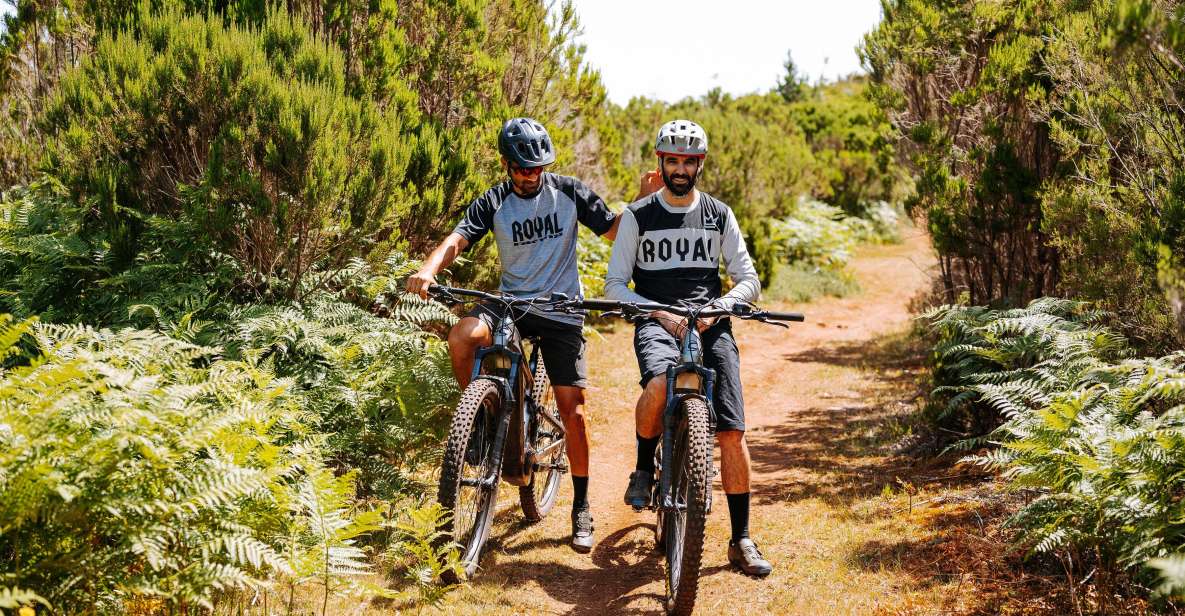
After you arrive near the starting altitude, you’re immediately in the scenic zone. The first part of the ride has two options:
- go along dirt and gravel roads, or
- choose singletrails directly
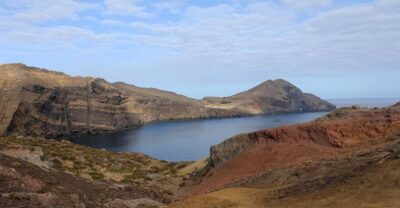
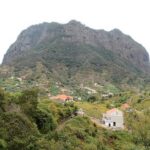
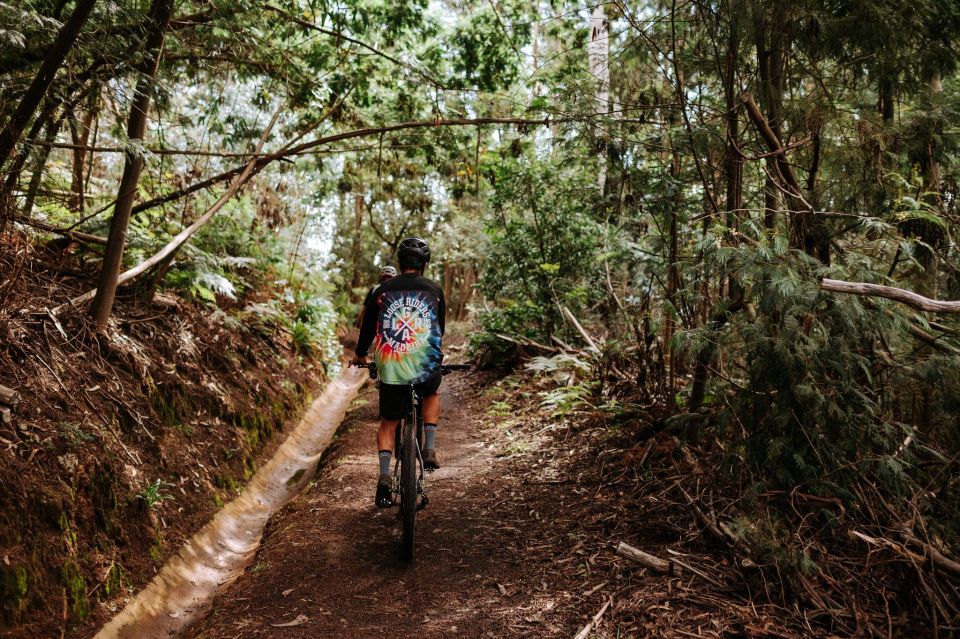
Both choices keep you looking out over the west side of the island and the North Atlantic Ocean, which is a big part of the magic. You feel like you’re riding above the coastline, not just near it. And that view isn’t a one-time postcard moment—it tends to keep paying you back as you move through the terrain.
Distance-wise, expect to cover about 30 km in this early-to-mid stretch before heading toward the lighthouse area. The route stays heavily off-road here, so your control and balance matter. On a dry day, the e-bike makes it manageable. In rain, the same dirt can get slick, and the ride can feel more demanding than you expected.
If you’re newer to mountain biking, this is where you should be honest with yourself. The e-bike helps with power, but it doesn’t change physics. You still need steady braking, smooth line choices, and the patience to avoid rushing into turns.
Calheta to Ponta do Pargo: the lighthouse stop and why it’s worth the fuss
At about the 30 km mark, you transition toward Ponta do Pargo, where the tour reaches the lighthouse area. The Ponta do Pargo Lighthouse was inaugurated in 1922 and sits on a cliff at about 290 metres—right on the westernmost tip of Madeira.
This stop is more than a photo break. It’s a moment where the day’s effort makes sense: you’re on the edge of the island, with the open ocean stretching out. That context helps you appreciate the route you just rode. You can look back and see how the landscape lines up—the ridges, the drops, and the way the trails connect.
Timing-wise, there’s a shorter guided segment at the lighthouse stage (around 1 hour in the overall day flow). That’s usually enough time to regroup, take in the view, and refocus for the rest of the descent and return.
A practical tip: if you’re sensitive to wind, bring a layer. Lighthouse points can feel breezy, even when the rest of the island seems calm.
The ride math: 30–40 km, 285m up, and a big 1317m descent
Here are the numbers that help you gauge what kind of effort you’re actually buying:
- Distance: about 30–40 km
- Duration: 4–5 hours of riding time (plus transfers and breaks in the day)
- Rise: about 285 m
- Descent: about 1317 m
- Off-road: about 80%
- On-road: about 20%
That split is key. The climb isn’t tiny, but it’s not the whole story. The real challenge (and the fun) comes from the long, sustained descending. With mountain biking, descent is where technique turns into speed—or into control.
For you, this means:
- You’ll likely feel it more in your legs and grip than your lungs.
- You should pay attention to bike handling, not just fitness.
- You’ll benefit from staying loose through turns and letting the bike roll where it wants.
Also, if you’re planning your day around this tour, treat it like a main activity. You’ll likely want the rest of your afternoon for recovery, especially if conditions are wet.
You can also read our reviews of more guided tours in Madeira

Calheta break time: plan for lunch and what to pack
After the main riding and lighthouse segment, the day includes a break time with lunch back around Calheta. Lunch time is about 1 hour, and here’s the important detail: food and drinks are not included in the tour price.
That’s not automatically a downside. Local lunch options are often the best way to experience a place without feeling rushed. But you should plan for it: budget a bit extra and consider carrying a small snack or water bottle if you tend to get hungry between meal windows.
What about what you wear?
- You’ll need cycling clothes, gloves, and cycling shoes yourself (not included).
- The bike and helmet are provided.
And based on a real-world note from a rider: gloves matter, especially in the moment when traction is questionable or you catch a slippery patch. If you don’t already have them, it’s the simplest upgrade you can make before you ride.
If it’s raining, expect conditions to change fast. Dirt can turn into paste, and then your braking distances and corner speed change too. Bring gear that keeps you warm enough to stay comfortable, not just dry enough to feel okay for 10 minutes.
What’s included (and what you’ll still need to bring)
The included items are straightforward and useful:
- the bike (e-bike and mountain bike setup as part of the activity)
- helmet
- guide and driver
- shuttle/transfers
- personal accident insurance
That personal accident insurance piece is worth noticing. You’re covering an activity with real off-road risk, so having that safety net is part of the value.
Not included:
- Food & drinks
- Cycling clothes
- Gloves
- Cycling shoes
Here’s a practical shopping list based on how mountain biking usually feels on Madeira’s terrain:
- gloves with solid grip
- shoes you trust for pedals and uneven dirt
- layers that handle wind and quick weather shifts
- water (even if you eat later, you’ll need it during the ride)
Who this tour suits best (and who should skip it)
This West Side Mountain Biking tour is built for mixed ability levels because of the e-bike and the route choice early on. You can be a beginner as long as you can ride a bike comfortably and you accept that “beginner-friendly” doesn’t mean “no risk.”
It’s explicitly not suitable for:
- people with back problems
- people with heart problems
- anyone who can’t ride a bike
- wheelchair users
- people with recent surgeries
If you’re deciding whether your skills are enough, focus on these points:
- Can you stay stable on dirt without panicking?
- Can you brake smoothly and look ahead instead of staring at the front wheel?
- Can you handle uneven surfaces for several hours?
If you answer yes, this kind of guided west-side route is exactly the sort of “learn while having fun” day you’ll remember.
Price and value: is $159 a fair deal for 5 hours?
At $159 per person for roughly a 5-hour day, you’re paying for more than just a bike rental. You’re getting:
- a guide managing a route with significant descent
- a shuttle to altitude (so you spend your energy on riding, not commuting)
- transfers for the day
- helmet + bike + personal accident insurance
That bundle matters on Madeira. Getting to the right trailheads can eat time, and e-bike logistics can get complicated when you’re doing it alone. With a small group capped at 7 participants, you also tend to get more attention when conditions change.
It’s also a good value if you want the scenery without needing to build a custom route. Madeira rewards good route choice, and guided routing is often the difference between an enjoyable day and an exhausting one.
The only true “extra cost” category is real life: lunch and gear like gloves and cycling shoes.
Weather reality check: when the route feels harder
One rider note highlighted that rain can push the trail from what you might expect into something tougher, even for beginners. That matches what you should assume on an island with steep dirt riding: wet trails reduce traction and increase workload.
What you can do:
- ride smoother, not faster, when it’s wet
- keep extra space for braking
- wear gloves you trust
- ask the guide what to expect if you see rain on the horizon
And if you’re new, be ready to ask questions early. In a well-run group, you’ll get direction when you need it. If you don’t, speak up fast so you’re not guessing for the rest of the ride.
Should you book this e-bike west-side mountain biking tour?
I’d book it if you want a Madeira day that’s active but not purely hardcore. The mix of guiding, a small group, and the ability to choose between dirt/gravel and singletrails in the early stretch makes it a strong “first serious ride” option. The Ponta do Pargo lighthouse stop also gives the day a clear payoff that’s easy to remember after you shower off the dust.
Skip it if you have health restrictions listed by the tour, or if you know your bike skills are shaky on uneven ground. Also think twice if you hate wet-weather riding; you can still go, but you need the right gloves, patience, and comfort with slower speeds.
If you’re aiming for value, this one stacks up well: shuttle to altitude, helmet and bike included, guide attention, and insurance for a mostly off-road route.
When you’re ready, reserve early—small group tours tend to fill, and this kind of west-side route is popular because it combines views with the kind of riding you can’t fake from a car.
FAQ
What time does the tour start?
You meet at the shop in Funchal at 9:00 AM.
How long is the biking time on the route?
The riding portion is about 4–5 hours, with additional time for van transfers and a lunch/break period.
Where does the tour go during the ride?
You ride from the starting area near Fonte do Bispo toward Calheta and then to Ponta do Pargo lighthouse, before returning to Calheta for the break and back to Funchal.
What kind of terrain will I ride?
Expect mostly off-road riding (about 80%), with roughly 20% on-road.
What’s included in the price?
The tour includes the bike, helmet, guide, driver, shuttle/transfers, and personal accident insurance. Food and drinks are not included.
What should I bring?
Bring cycling clothes, gloves, and cycling shoes. A lunch stop is included as a break time, but you’ll need to pay for food and drinks yourself.